Raised garden beds are a fantastic way to organize your garden, improve soil quality, and make planting and maintenance easier. By elevating the garden soil, raised beds provide better drainage, protect plants from pests, and allow for a more controlled growing environment. In this article, we’ll explore how to build raised wooden garden beds and the benefits they bring to your gardening experience.
1. Choose the Right Materials for Your Raised Beds
The first step in building raised wooden garden beds is selecting the right materials. You can use various types of wood, such as cedar, redwood, or treated pine, each with its own pros and cons. Cedar and redwood are naturally resistant to decay and insects, making them an excellent choice for long-lasting beds. Treated pine is more affordable but may need to be replaced sooner:
- Cedar and redwood are ideal for raised beds because they’re durable and resistant to rot.
- Avoid using pressure-treated wood for food gardens, as the chemicals used in treatment may leach into the soil.
- Ensure the wood is untreated if you’re growing vegetables or herbs to avoid chemical contamination.
2. Determine the Size and Shape of Your Raised Beds
The next step is to decide on the size and shape of your raised beds. The ideal size for a raised bed is usually around 4 feet wide and 8 feet long. This size allows easy access to the center of the bed from both sides, which minimizes the need for walking on the soil and compacting it. The height of the bed should be between 12 to 24 inches, depending on the plants you plan to grow and your gardening needs:
- Stick to a width of 4 feet for easy access and maintenance.
- Length can vary depending on available space, but 8 feet is a common and manageable size.
- Taller beds, around 24 inches, are ideal for people with back problems, as they reduce bending.
3. Prepare the Site for Your Raised Beds
Before you start building, choose a location for your raised garden beds. Look for a spot that receives at least 6-8 hours of sunlight per day and has good drainage. If your chosen site has grass or weeds, you’ll need to clear the area before installing the raised bed. One method is to lay down cardboard or newspaper to smother weeds and grass:
- Select a flat area to ensure your raised beds are stable and level.
- If your garden area is uneven, consider leveling the ground before installing the raised beds.
- Use cardboard or newspaper to prevent weeds from growing through the bed once it’s built.
4. Assemble the Wooden Raised Beds
Once you have your materials and site ready, it’s time to assemble the raised beds. Start by cutting the wood to the desired length for your bed’s sides. You’ll need four pieces of wood for the corners and longer pieces for the sides. Use screws or nails to secure the corners and sides together. For added stability, you can reinforce the corners with metal brackets:
- Pre-drill holes to avoid splitting the wood when assembling the bed.
- For extra durability, consider using galvanized screws or nails to prevent rust.
- If you’re building multiple beds, make sure they’re aligned for an organized garden layout.
5. Add a Weed Barrier and Fill the Bed with Soil
To prevent weeds from growing through the raised bed, place a weed barrier at the bottom. You can use landscape fabric or cardboard. Once the bed is lined, fill it with high-quality soil. A mix of compost, garden soil, and organic matter will provide your plants with the nutrients they need to thrive:
- Choose a soil mix that’s well-draining and nutrient-rich to ensure plant health.
- Add organic matter like compost to improve soil fertility and texture.
- Fill the raised bed with soil up to the top, but leave about 1-2 inches of space at the top to allow for watering.
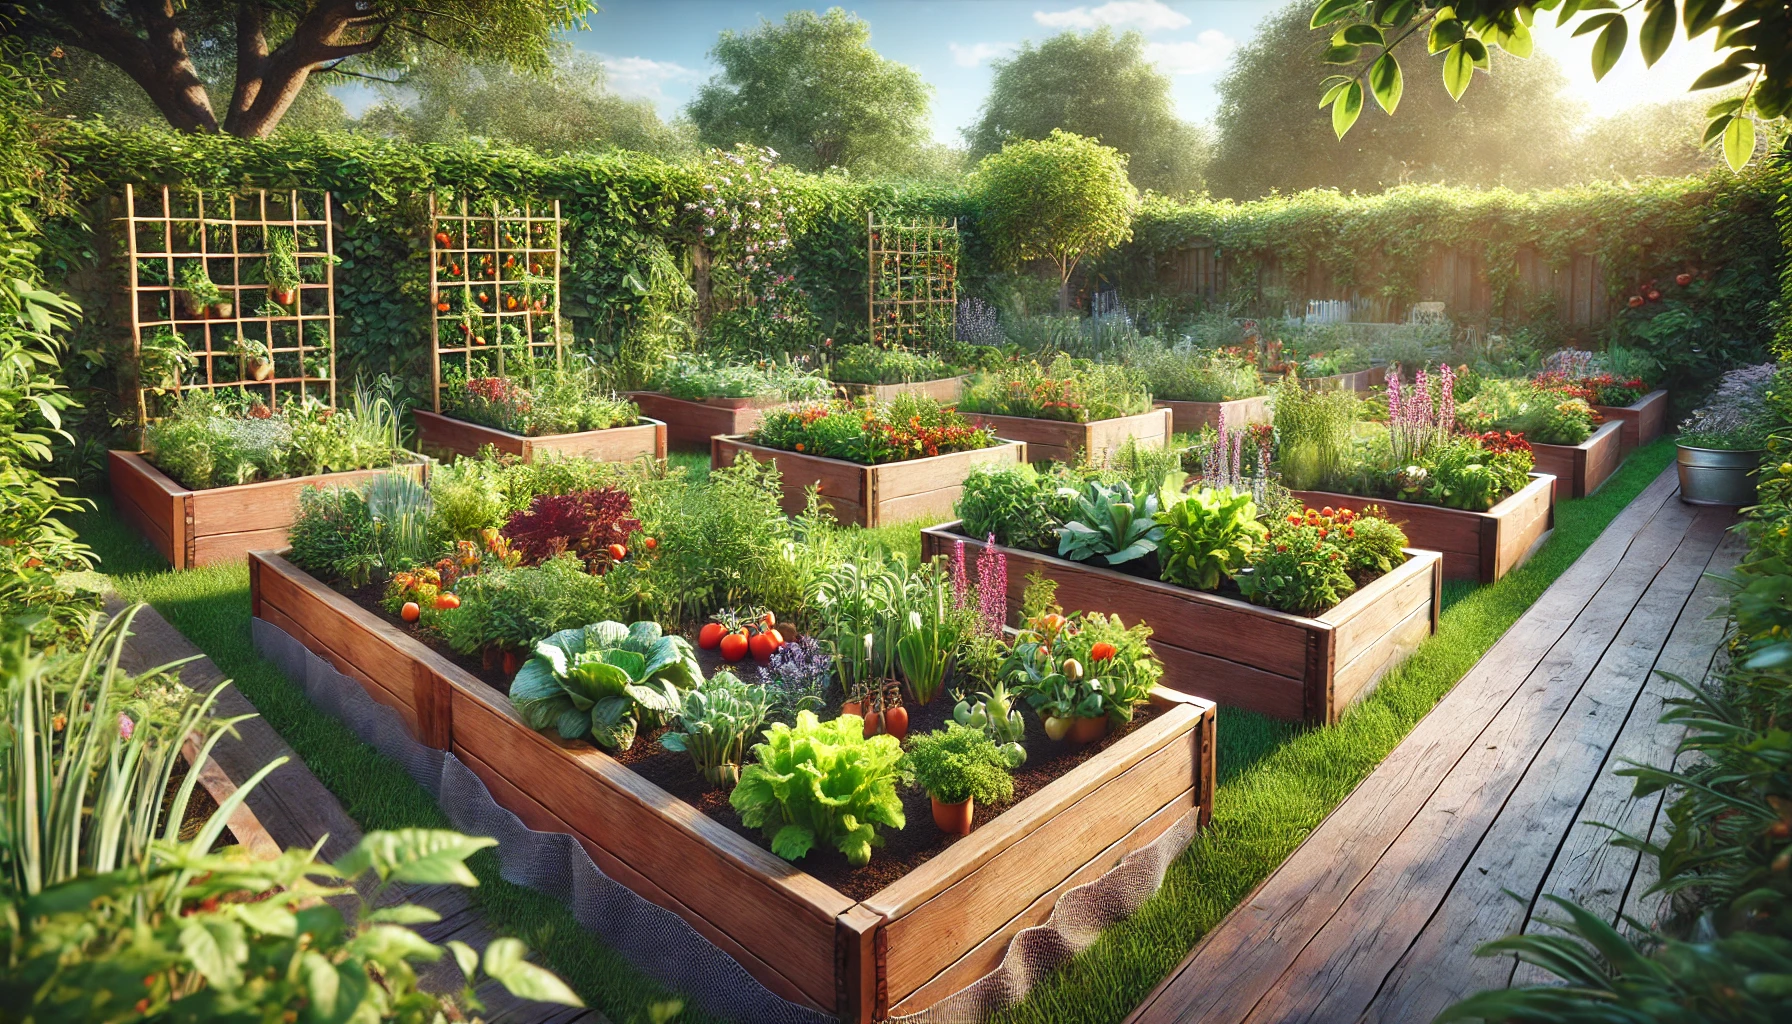
6. Organize Plants Within the Raised Bed
Now that your raised bed is assembled and filled with soil, it’s time to plant! Raised beds allow you to organize your plants in a way that maximizes space and enhances their growth. Plan your planting layout carefully to ensure that taller plants are placed at the back and shorter plants at the front. You can also add herbs, vegetables, and flowers together for a diverse and productive garden:
- Arrange plants based on their size and growth habits to ensure they have enough space to thrive.
- Consider companion planting to enhance plant growth and deter pests.
- Leave space between plants to allow air circulation and reduce the risk of disease.
7. Maintain and Care for Your Raised Beds
Raised beds are easier to maintain than traditional garden beds, but they still require regular care. Keep an eye on the soil moisture and water as needed, especially during dry spells. Add mulch on top of the soil to retain moisture and prevent weeds. Also, regularly remove any dead plants or debris from the bed to keep it clean:
- Water raised beds deeply and consistently to encourage deep root growth.
- Refresh the soil every few years to maintain its fertility and structure.
- Add a fresh layer of mulch each year to improve the appearance and health of the bed.
Raised Beds for a More Organized and Productive Garden
Building raised wooden garden beds is a fantastic way to improve the organization, functionality, and beauty of your garden. With better soil drainage, fewer weeds, and easier access to plants, raised beds offer a more efficient and enjoyable gardening experience. By following these steps and tips, you can create raised beds that will help your plants thrive and make gardening more manageable.